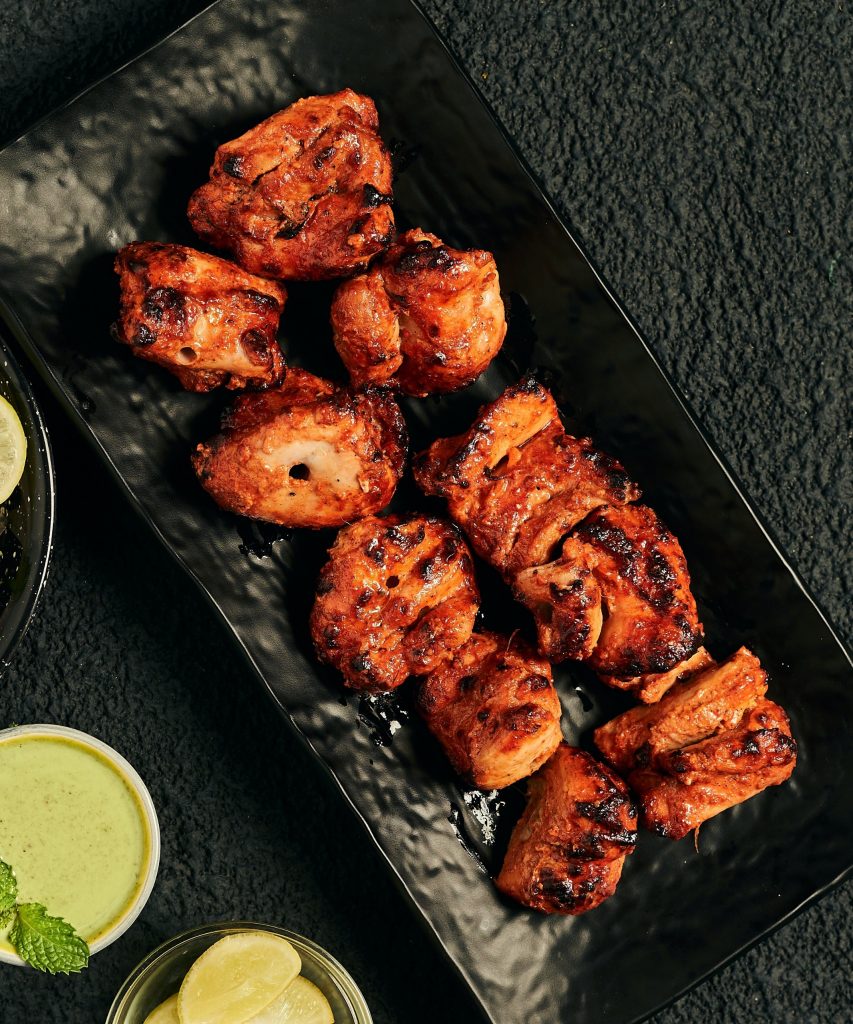
Tikka means bits, pieces or chunks. Chicken tikka is an easy-to-cook dish in which pieces of chicken are marinated in special spices and then grilled on skewers. Traditionally, chicken tikka is baked in a clay oven called a tandoor, making this recipe a boneless version of the Indian dish tandoori chicken. Chicken Tikka is an excellent starter or side with any other Indian curry.
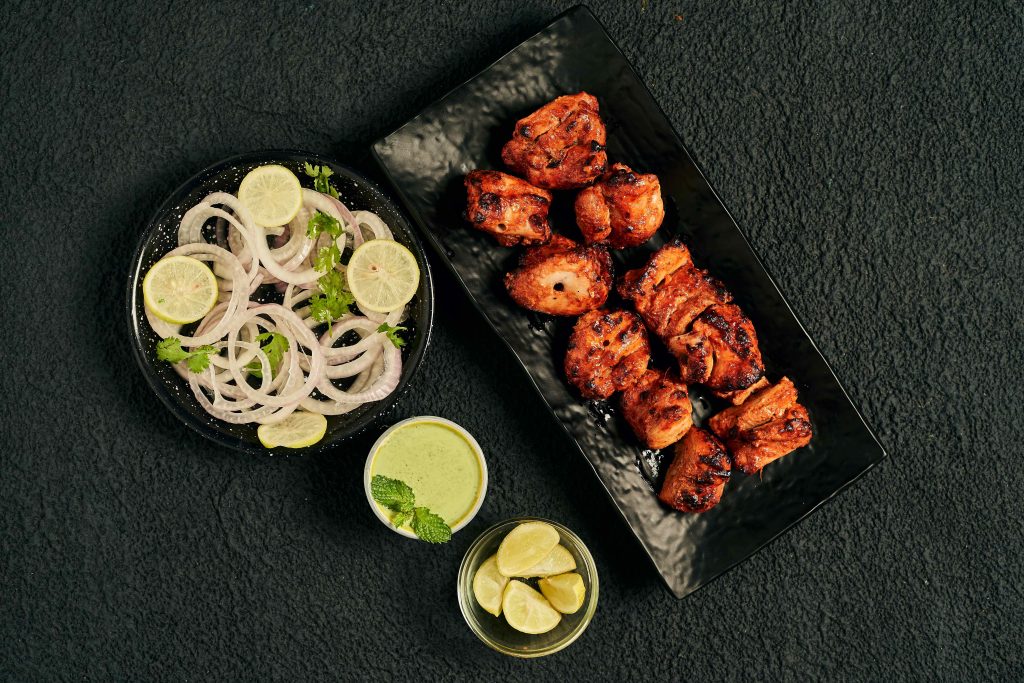
Table of content
1. About the recipe
2. Ingredients
3. Step-by-step method
4. Tips
1. About the recipe
Chicken tikka is a very popular and favourite kabab recipe from north India. It is soft, spicy and full of flavours and can be enjoyed with green chilli chutney or only with onion rings. The spice level in your chicken tikka will depend on whether you use chilli powder. Typically, chicken tikka is flavourful but not especially spicy. The yoghurt helps to minimize any real spice in the dish.
Let’s Start Cooking!
Marination Time: 6 to 7 hours
Preparation Time: 10 minutes
Cooking Time: 15 minutes
2. Ingredients
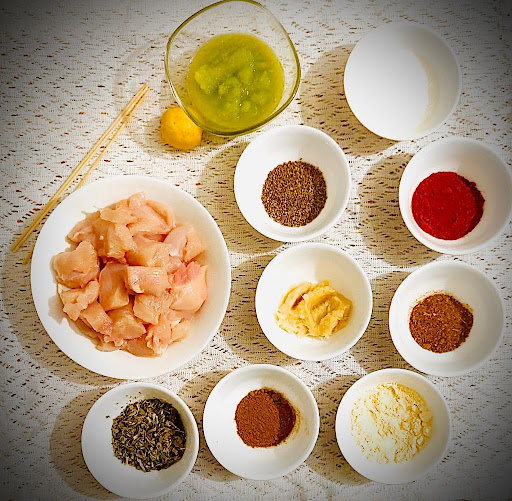
- 300gm boneless chicken ( cut into tikka size)
- 1 tablespoon ginger paste
- 1 tablespoon garlic paste
- 2 tablespoons raw papaya paste(optional)
- 1 lemon
- 100gm yoghurt
- 1 tablespoon red chilli powder
- 1 tablespoon garam masala powder
- 1/2 tablespoon black pepper powder
- 1 tablespoon kasoori methi leaves
- Salt
- A piece of coal optional( for tandoor like flavour)
- 2 tablespoons Ghee or Butter
- 1 tablespoon besan or cornflour
- 1 teaspoon ajwain ( carom seeds)
3. Step By Step method
- From this recipe, you can make restaurant-style chicken tikka at your home. You can also make and refrigerate it and use it according to your menu. First, take boneless chicken thighs or breasts; the thigh part will give a soft texture to the tikka. Add salt, ginger, garlic paste, raw papaya paste, red chilli powder and lemon juice. Mix it and leave for 6 hours.
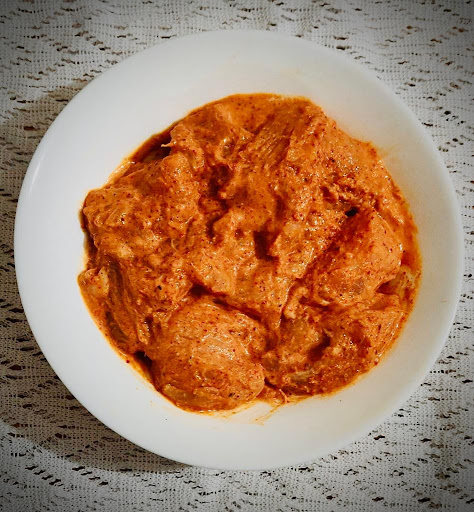
First Marination
- After an hour, in a small frying pan, put some ghee, add ajwain, besan, red chilli powder, garam masala powder, black pepper powder,kasoori methi . Saute for 30 seconds, and remove from the flame.
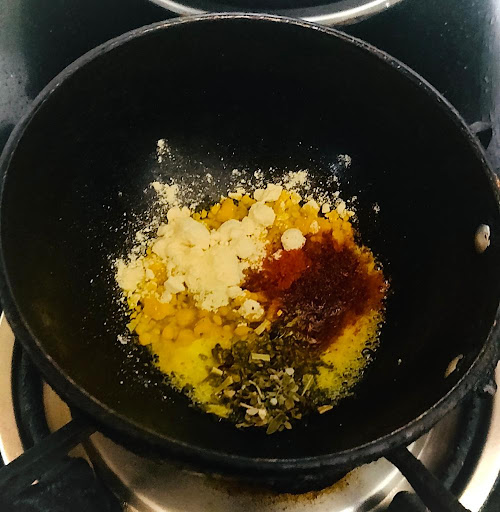
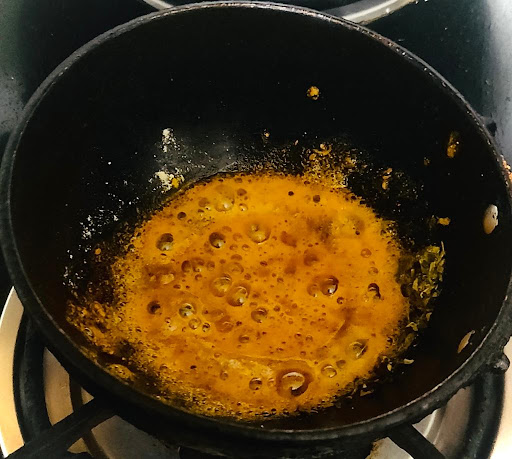
- Add this mixture to the marinated chicken. Also, add yoghurt, Mix all the ingredients and leave for again 15 to 30 minutes.
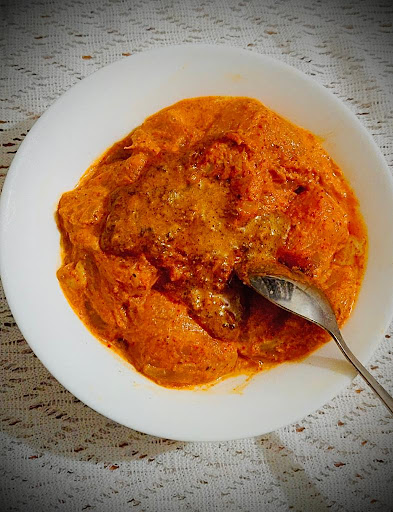
Second Marination
For Grilling
- For Grilling, I used wooden skewers and soaked wooden skewers in normal water for 30 minutes before using them. Skewer the marinated chicken.
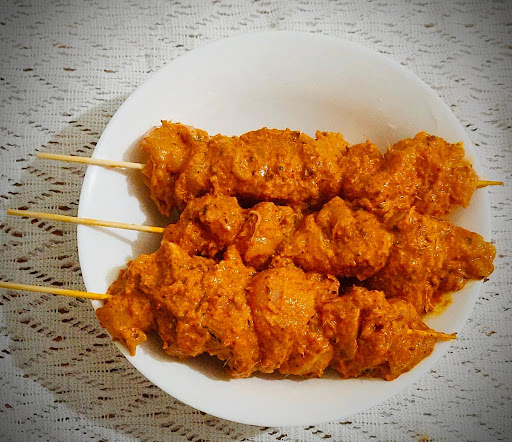
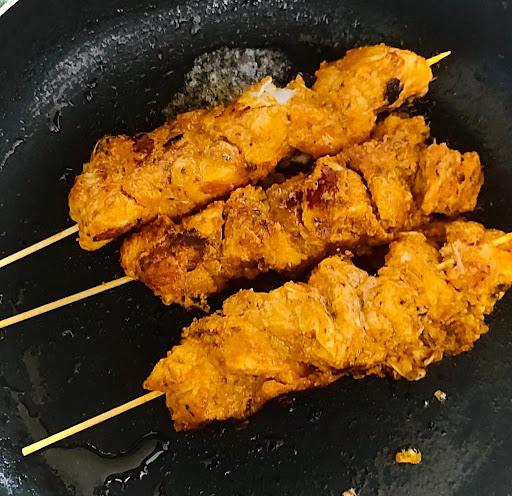
- After that, in a frying pan or hot tawa, put a little ghee, place the skewers on it, and cook on a medium flame. Baste with butter or ghee at regular intervals.
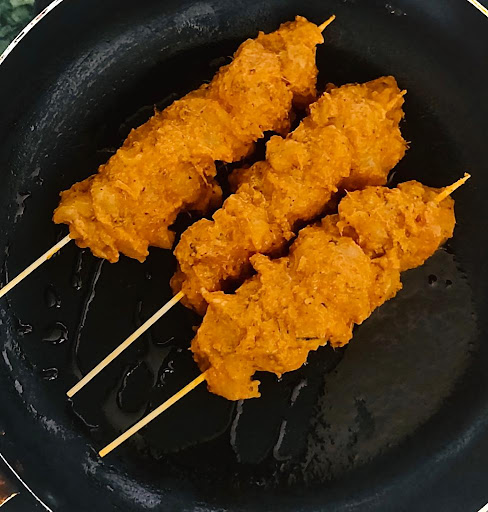
- When chicken pieces are cooked and become golden brown, turn off the flame. Put all the Tikka pieces on a large plate and pour butter or ghee on it.
- For tandoori flavour, take a piece of coal, burn the coal on a gas burner, put it in a steel bowl or on an aluminium foil and place it in the middle of the tikka pieces; pour a drop of ghee and cover the dish. Tikka will be covered with smoke. After one minute, remove the cover.
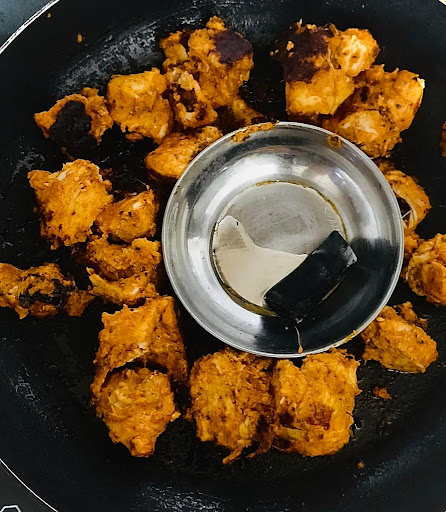
- You can skip the coal part but miss out on the restaurant-like flavour.
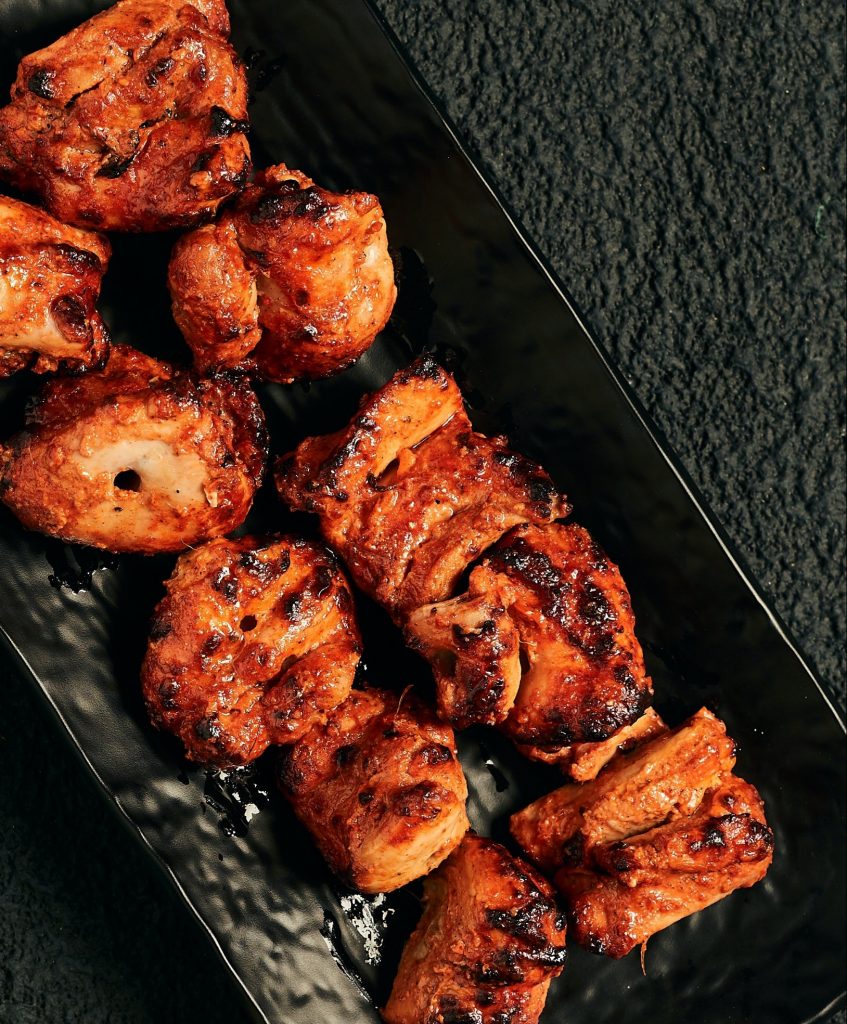
- Serve hot chicken tikka with your choice of dip, naan or paratha.
4. Tips
- Before marinating, always pat dry the chicken. This absorbs the extra moisture, which leads to a crisper texture.
- Brushing the tikka with oil halfway through helps in achieving a crisper exterior. Don’t skip this step.
- Sprinkle Chicken tikka with fresh lime juice or chaat masala before serving; this extra step really elevates the tikka flavour.
- You can make this tikka without using skewers on a hot pan.
- Bring the tikka to room temperature before grilling; it helps in better evenly cooking.
- Raw papaya is optional. If you don’t want to use it, you can skip this to increase a little more marination time.

